
How To Set Up Your Robot Vacuum For the First Time?

Starting with a new robot vacuum is an exciting step toward simplifying your household cleaning routine. These devices can save you time and energy, but a proper setup ensures they work at their best from the very first run. Taking a few careful steps in the beginning will help avoid common issues like missed spots or connectivity troubles. Preparing your home and understanding the setup process can make the transition smoother. In this article, we will walk you through setting up your robot vacuum for the first time so you can enjoy reliable cleaning from day one.
Unboxing and Initial Preparation Steps
When you first unbox your robot vacuum, it’s important to carefully remove all protective packaging and check that every component is included. Most units come with a charging dock, power cord, brushes, filters, and sometimes extra accessories, so make sure nothing is missing. Before placing the vacuum on its charging dock, clear the area around it to provide enough space for docking and undocking—about three feet on each side is usually sufficient. Place the dock against a wall in an open, uncluttered spot to help the vacuum locate it easily. Fully charge the battery before the first use to give the device a strong start and ensure it can complete its first cleaning run without interruptions.
Connecting to Your Home Network and App
Once your robot vacuum is charged, the next step is connecting it to your home Wi-Fi network and its companion app. Most modern robot vacuums rely on an app to control cleaning schedules, monitor progress, and manage settings, so having a stable Wi-Fi connection is essential. Position your router close enough for a strong signal during the setup process, then follow the app’s step-by-step pairing instructions. This usually involves scanning a QR code on the vacuum or pressing a Wi-Fi button on the device until it connects. After linking it to your network, you’ll be able to name your robot and start customizing its cleaning behavior directly from your phone.
Basic Cleaning Settings and Preferences
Selecting Your Floor Type and Surface Materials
Choosing the right cleaning mode for your floor type helps the robot vacuum clean effectively without unnecessary wear. If you have mostly hard floors, you might prefer lower suction settings to reduce noise while still collecting fine dust. For carpets or rugs, stronger suction ensures the vacuum can lift dirt from deeper fibers. Some models also let you set preferences for different rooms, automatically adjusting power levels based on the surface. Taking a few minutes to explore these options will help your vacuum adapt to your home’s unique layout and materials.
Setting Cleaning Schedules and Time Preferences
Establishing a cleaning schedule is one of the biggest benefits of owning a robot vacuum. You can set it to run while you’re at work, asleep, or out running errands, allowing it to clean without disrupting your routine. Many people find that scheduling cleanings a few times a week is enough to keep floors tidy, though homes with pets or kids might benefit from daily runs. Adjusting the cleaning time to when your home is quiet or less active can also help the vacuum move around freely without obstacles. A regular schedule makes it easy to keep your home consistently clean with minimal effort.
Initial Mapping Run and Space Configuration
Before your robot vacuum can clean efficiently, it needs to map your home’s layout. During the first run, it will move slowly through each room to scan walls, furniture, and open spaces, building a virtual map in the app. It’s best to pick up small items, cords, or loose fabrics from the floor beforehand to avoid tangles and interruptions. Keep doors open to the areas you want included in the map, and close off any spaces you don’t want the vacuum to enter. Once the map is complete, you can set no-go zones, create room boundaries, and even label rooms to schedule targeted cleaning in the future. This initial mapping step sets the foundation for accurate and efficient cleaning.
Maintenance Setup and Emptying Instructions
Understanding Bin Emptying and Filter Care
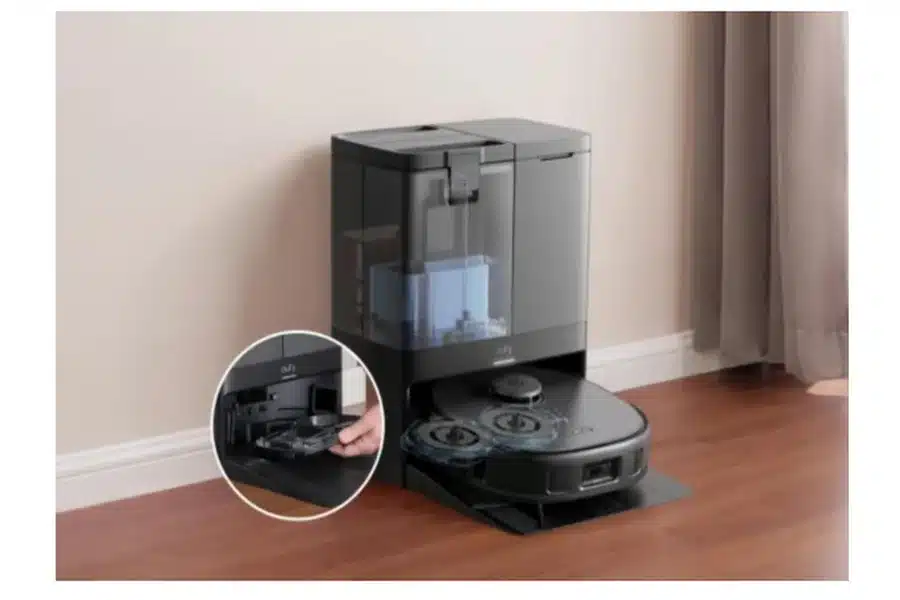
One of the most important parts of the setup is planning how to maintain the vacuum’s bin and filters. The dust bin should be emptied regularly, especially after the first few runs when it may collect more debris than usual. Filters also need gentle cleaning to keep suction strong and prevent clogs—tapping them lightly over a trash can or brushing off dust works well. Some advanced models make this process even easier with self-emptying stations; for instance, a self emptying robot vacuum like the eufy X10 Pro Omni can automatically deposit its collected dirt into a 2.5L bag at its base station, which usually only needs replacing about every two months, greatly reducing manual upkeep. Building these habits early ensures your vacuum continues running smoothly without performance drops.
Cleaning Brush Maintenance and Care Tips
The brushes on your robot vacuum also need attention to stay effective. Hair, string, and dust can wrap around the main brush or side brushes, reducing their ability to sweep debris into the suction path. Regularly removing the brushes and cutting away tangled materials helps keep them spinning freely. It’s also a good idea to check the brush bearings and ends, as debris can collect there too. By cleaning the brushes every week or two, depending on how much debris your home produces, you can keep the vacuum moving efficiently and prolong the life of its parts.
Conclusion
Setting up a robot vacuum may seem like a lot of steps, but each one helps make your new device work better and last longer. Preparing your home, connecting to the app, and guiding the first mapping run create a strong foundation for smooth operation. Incorporating simple care habits—like emptying the bin, cleaning filters, and brushing maintenance—prevents performance issues before they start. With these preparations, your robot vacuum can handle daily cleaning quietly and efficiently while you focus on other tasks. Once everything is set, you can sit back and enjoy the convenience of your new automated cleaning assistant.